This
little glasses brooch is a design that originated from my Grandmother.
She cleverly made one for herself years ago, using a brooch she had,
which conveniently had a loop that she could fit a key ring onto.
Unfortunately the brooch broke and was unrepairable, and she couldn't
find any new brooches that she could fit her key ring to. I thought that
sounded like a very satisfying little craft project and got to work.
The basic idea is a brooch with a small key ring loop that you slip one
leg of your glasses through, so that you can hang your glasses on your
shoulder and easily find them next time you need them.
The thing I like coming up with is the pretty bits. For this brooch I wanted to make a white flower.
First
I got some pretty white material. I cut a rectangle of the material
approx. 10cm x 15cm. I carefully melted the edges a little with a
lighter to stop it from fraying (taking care to not set anything on
fire!). I've worked with this material making a skirt a while back, and I
know how easily it frays.
Next
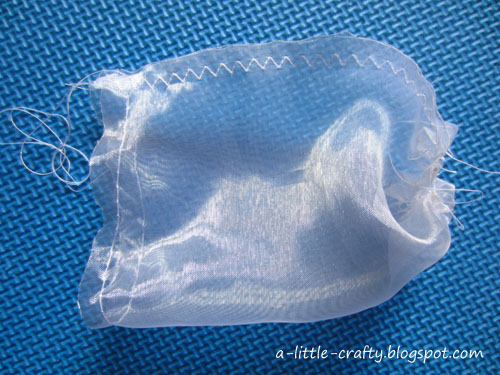
I sewed the two ends of the rectangle together with a zigzag stitch to
make a loop. I sewed in two running stitches at the top and bottom of
the loop (long stitch length and no doubling back to secure the thread
at the ends) to use for gathering .
I
turned the loop right side out, so the zigzag stitch was inside the
loop, and sewed another running stitch to gather the fabric across the
middle.
I
pulled the running stitches until the fabric was nicely gathered and
looking reasonably flowery, then tied the threads in a knot and used hot
melt glue to glue a button on top, securing everything in place.
Next
I took a length of white ribbon, just long enough to allow the key ring
to peak out from the bottom of the flower, and melted the ends of the
ribbon to stop it fraying.
Finally,
using a hot melt glue gun, I turned the flower over and glued the
ribbon (with ring) in place and the brooch pin over the top of it.
Finished.