

We are planning on doing some travelling this year, including a long haul flight or two, and a wedding, and a few more trips of 6+ hours, with a 3 and 5 year old.
I previously made a tray to go on a plane tray table, and I'd been planning on making a bag that would hang on the back side of the tray. In the end I decided not to go with that for a few reasons: I think that doing a bit of bending and stretching for a bag under a seat every few hours would probably do our circulation some good, I don't think the passenger in the seat in front of us wants a bag full of books banging against the back of their chair, the chair is too far away for kids to easily reach, and I want something a bit more versatile that can be used as a restaurant bag as well.
What I did want:
A zip! So I can be sure that nothing precious is going to escape from the bag while it's under a seat.
A bag big enough to fit a large activity book or colouring book easily.
Potentially a bag that's big enough to quickly stuff every loose animal, car, and pack of tissues into it at the end of a flight.
A shoulder strap which can also be used to hook the bag over the corner of a restaurant chair.
I'm not an amazing sewer, in fact I'm very new to zips and they tend to scare me a bit. But here's what I did. If you've got a suggestion for how it can be done better, just add a comment. :)


2. Fold over the top seam and iron in place.

3. Fold over the side seam (both front and back fabric together) and iron.

4. Fold the two sides in for the shoulder strap, and then fold it in half along the length. Iron.

5. Pin the zip to one side of the top and sew in place. Make sure the outside of the zip faces the outside of your fabric.

6. Sew only up to where you earlier ironed in the side seam crease (mark this spot with a pin if it's a bit tricky to see)
7. Sew the other side of the zip on.
8. Sew up the side seams to the top
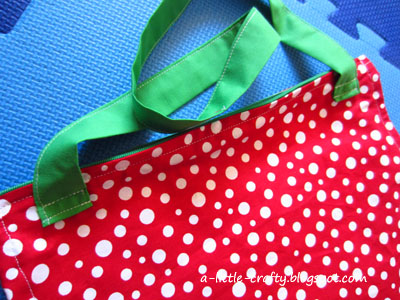
9. Sew the handle together on the open side, and then sew the handle onto the back side of the bag.


10. Admire your work!
Looks great Sal! I love that fabric! I'm all but great with zippers and try avoid using them as much as possible ;). But this looks like they sew a zipper in books. Maybe I should give it a try too ;).
ReplyDeleteThanks Bec! It's super cute material isn't it? I found it in the remnants fabric bin and just had to buy it. Definitely give it a go :)
ReplyDelete